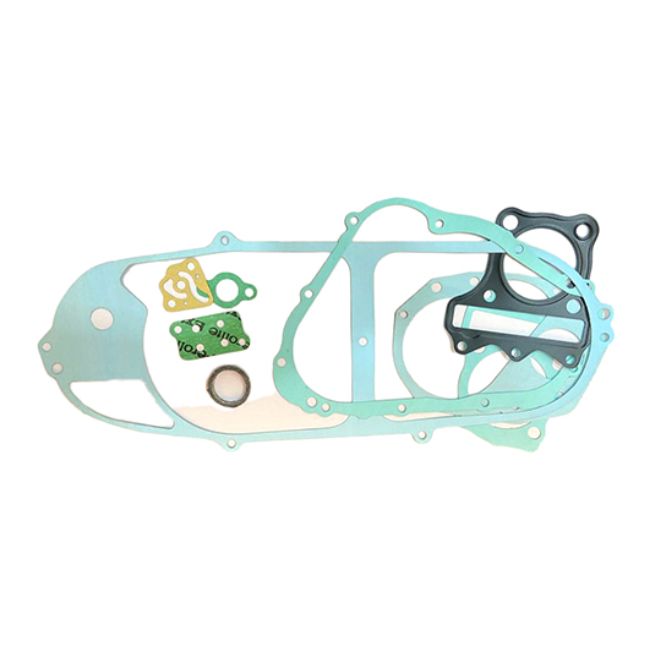
When it comes to engine performance, longevity, and reliability, few components are as critical – and as underestimated – as the gasket. Whether sealing the combustion chamber, preventing oil and coolant leaks, or maintaining internal pressures, gaskets are fundamental to how your two-wheeler engine performs.
However, even the highest-quality gasket can fail prematurely if it’s not installed properly. From improper handling to overlooking torque specs, common installation mistakes are one of the leading causes of gasket failure. The results? Leaks, overheating, power loss, and expensive engine repairs.
To help you avoid these costly pitfalls, we’ve outlined the most common gasket installation mistakes – and how to prevent them. Whether you’re a professional mechanic or a hands-on enthusiast, avoiding these errors will save you time, money, and frustration.
1. Failing to Clean the Mating Surfaces
This might seem basic, but it’s a mistake that happens far too often. Gaskets must sit on clean, flat, and dry surfaces to create a reliable seal. Old gasket material, oil residue, or debris can prevent proper sealing, leading to leaks and uneven compression.
What to do instead:
Before installing the new gasket, thoroughly clean both mating surfaces using a scraper, solvent, and lint-free cloth. Avoid using sharp tools that could scratch or damage the surface, as this may compromise the seal’s integrity.
2. Reusing Old Gaskets
Gaskets are single-use components. Reusing an old gasket – even one that appears intact – can result in improper sealing. Once compressed, a gasket loses its original form and may no longer seal effectively.
Why it matters:
A reused gasket is more likely to crack, deform, or fail under pressure and temperature changes, especially in critical areas like the cylinder head.
Best practice:
Always install a brand-new gasket, preferably from a trusted brand like Celofin, to ensure proper fit and function.
3. Incorrect Torque Application
Using excessive or insufficient torque when tightening bolts during installation is a leading cause of gasket failure. Over-tightening can crush the gasket material or warp the surfaces, while under-tightening can cause leaks due to insufficient clamping force.
How to avoid it:
Use a calibrated torque wrench and follow the manufacturer’s torque specifications exactly. Always tighten bolts in the recommended sequence to ensure even distribution of pressure.
4. Using the Wrong Gasket for the Application
Not all gaskets are created equal. Using the wrong type (e.g., paper gasket in a high-temperature zone or a generic gasket instead of model-specific) can lead to failure within days 0 or even hours.
What goes wrong:
The wrong gasket material may degrade quickly, burn out, or simply not fit the surface contours properly.
Smart tip:
Choose a gasket that’s designed specifically for your engine model and the temperature, pressure, and chemical exposure it will endure. Celofin, for instance, offers precision-engineered gaskets for a wide range of two-wheeler applications.
5. Improper Use of Sealants
Some mechanics believe that “more sealant equals better sealing.” In reality, excessive or incorrect sealant use can block oil passages, clog coolant channels, and create uneven gasket surfaces.
Typical issues caused:
- Excess sealant gets squeezed into the engine internals
- Improper sealing due to uneven surfaces
- Hardening of the sealant over time leads to cracks
Best practice:
Only use sealants if the gasket or manufacturer specifically calls for it. Apply a thin, even layer – just enough to coat the surface without squeezing out. In many cases, modern gaskets don’t need sealant at all.
6. Skipping Surface Inspection for Flatness or Warping
If the engine block or cylinder head is warped or damaged, even a perfectly installed gasket will fail to seal properly. This is especially common after overheating or high-mileage wear.
Consequences:
- Persistent leaks even with a new gasket
- Reduced compression
- Premature gasket blowout
What to do:
Always inspect the mating surfaces for flatness using a straight edge. If warping is detected, have the surface machined or replaced before installing a new gasket.
7. Not Aligning the Gasket Properly
Misaligning the gasket during installation – even by a few millimeters – can block oil or coolant passages and leave edges exposed to combustion forces.
- What can happen:
- Gasket blowouts
- Coolant/oil leaks
- Engine overheating or seizure
Prevention:
Position the gasket carefully before tightening bolts, and verify that all holes (for bolts, oil, and coolant) are properly aligned. Some gaskets, like those from Celofin, include alignment tabs or markers for easier installation.
8. Not Following Heat Cycles and Retorqueing (If Required)
Some gaskets, especially metal or composite types, require retorqueing after the engine has gone through a heat cycle. Skipping this step can lead to loosening over time, especially on cylinder heads.
Why it matters:
As the engine heats and cools, the materials expand and contract. If the bolts aren’t retorqued, it can lead to compression leaks or bolt loosening.
Solution:
Follow the gasket manufacturer’s instructions. If a retorque is recommended, do it after the engine has cooled down from its first full operating cycle.
Don’t Miss: 8 Gasket-Related Issues That Could Be Slowing Down Your Scooter
Final Thoughts
Gaskets may not be glamorous, but they are essential to the health of your engine. Cutting corners during installation or skipping the basics can cost you not just performance, but your entire engine.
By avoiding the mistakes listed above, you can significantly improve the lifespan and reliability of your gasket – and, by extension, your two-wheeler engine. Whether you’re working on a commuter scooter or a high-performance motorcycle, proper gasket installation is key to keeping things running smoothly.
Always use high-quality gaskets from reputable brands like Celofin, follow recommended procedures, and take the time to do it right the first time.

